| HOME | Software | Lotus Cars | DWARF | Kindle | Solar |
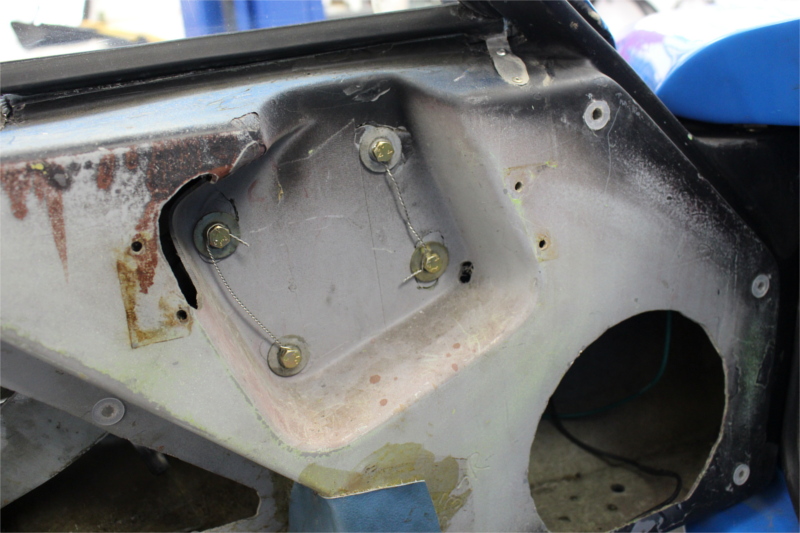
On one door the motor attachment bolts were loose, so I installed bolts with holes for safety wire as an extra measure.
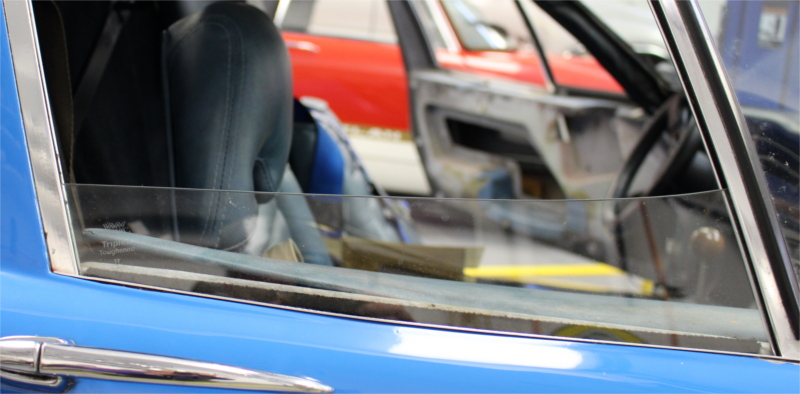
From the factory the door windows do not wind down very far. On this Europa the lowest it would go left two inches of glass visible at the rear of the glass. This is annoying for track use as one has to explain to the track marshals...every trackday... that the window is really fully down! If you don't have a compelling reason just don't waste your time fooling with the window height.
I am indebted to Ron Dawson posting August 16, 2016 on lotuseuropa.org for the basic instructions on how to allow the windows down further than stock.
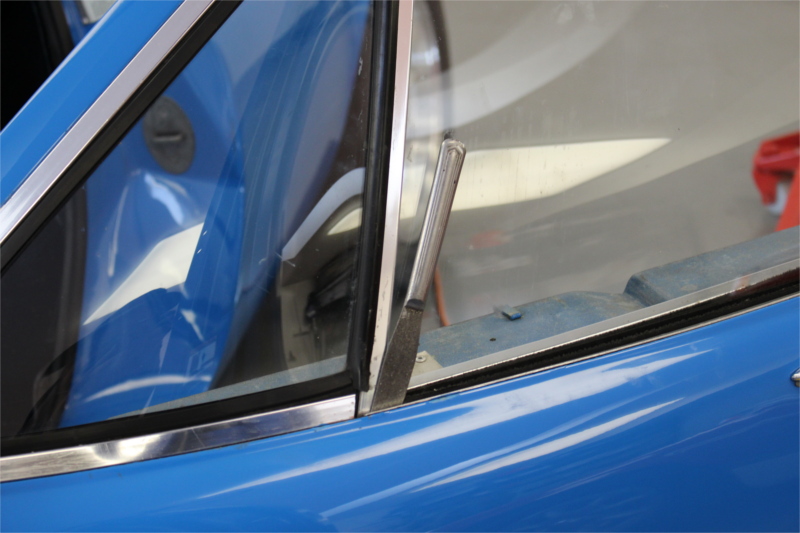
So. Here is the stock opening. At the rear of the window that is two inches of glass showing.
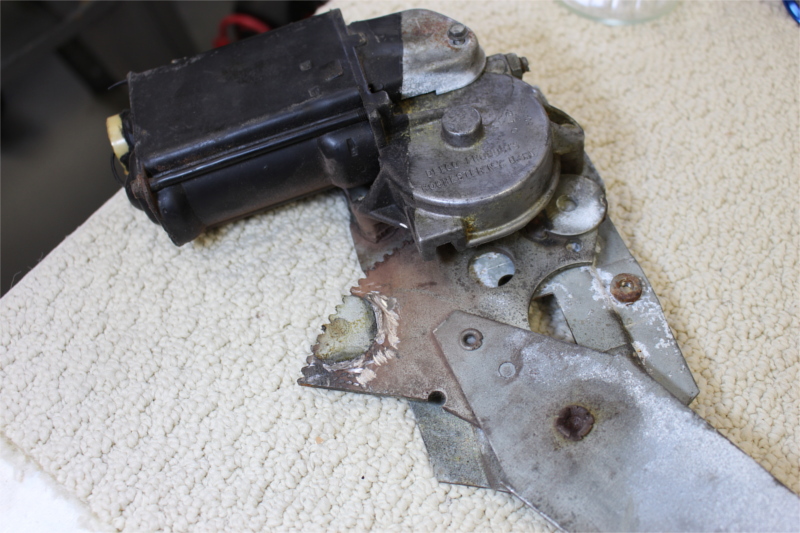
After removing the door motor determine which of the factory-welded-on washers stops the lowering. Here is a picture of the motor assembly with the appropriate stopper washer cut off.
Now one gets to the critical point of doing things that are just a little alarming. Because there is not all that much that keeps all that glass and frame in place! The factory put that lowering stop where they did so the bottom of the glass would not contact the inner door surface. You will need to put a rubber block between the window holder bracket and the door. (I used a tiny bit of ultra thin fiberglass and polyester resin around the bottom of the block to make sure the block cannot just fall down.) And you need to make sure anything at the horizontal surface where the glass enters the door that prevents the glass from moving inward is removed temporarily. Then pull on the bottom of the window and insert the rubber block. If you have to pull hard...stop! Something is holding you back.
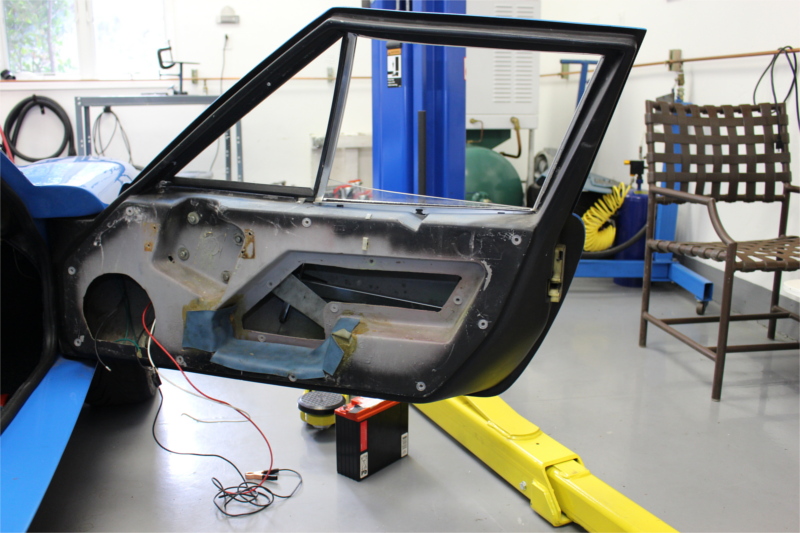
To find the position you want for the motor-stop washer the following test setup suffices. A small 12 volt battery and temporary wires. Connect the ground wire. Then touch one or the other wires to the plus battery terminal till the window is down where you want it and the rubber block ensures the window does not hit the outer door surface. Remove the door motor (again!) and weld on the washer.
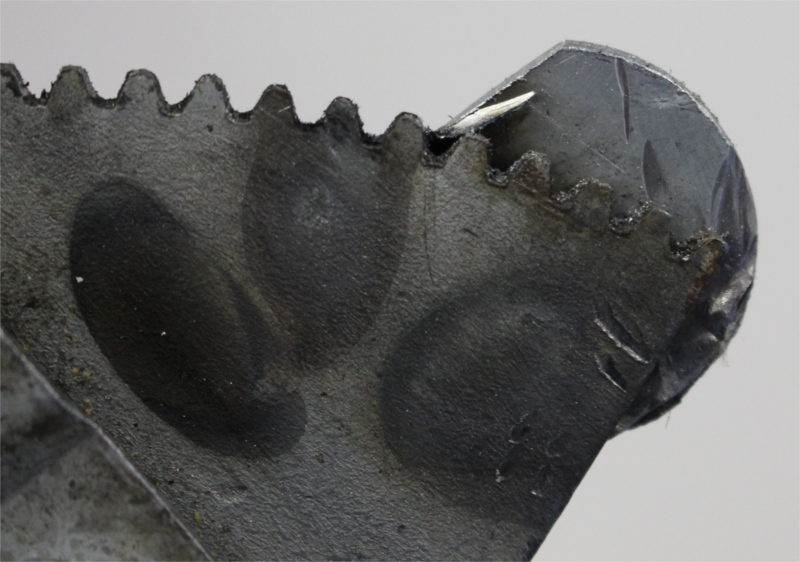
Once you know the position for the washer, weld it on. TIG welding works great. The picture below shows a newly-welded-on washer. I got the position just a bit wrong and had to file a little off this washer to get the window down where I wanted it. I removed the bit of steel flake in the picture before installation :-)
What happens when you pull? The frame rotates about the top of the frame and increases the gap between the glass and the outer door. It is a bit alarming. Now, to get the outer frame trim to stay by the body you may want to detach the weld at the front of the frame where it passes through the door. Yikes. The picture shows a tool that broke this particular weld.
Now, with a bit of something soft, temporarily hold the released trim out to the outer door surface and a bit of glue (goop?) in the gap will keep the trim aligned with the door for a nice look (well, once it cures). The gap to the window will be noticable to you. Probably not anything a casual looker will notice.
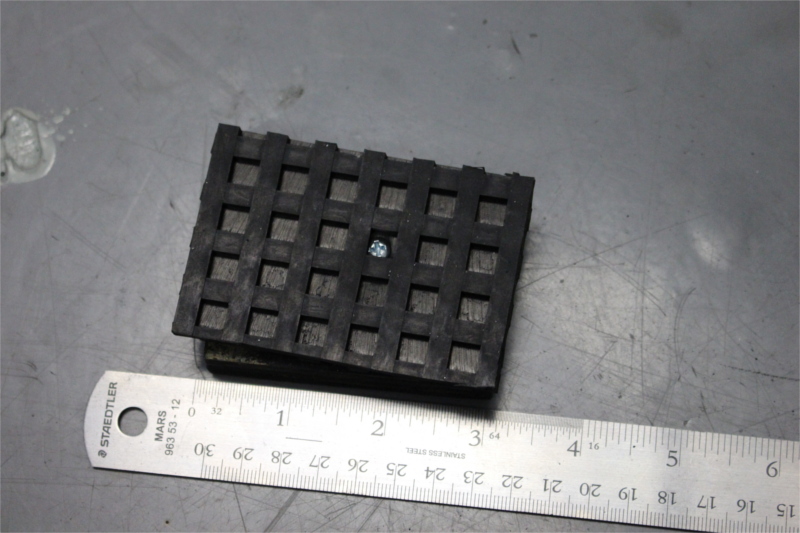
Here is a picture of the rubber block I used. the screw is just because I had to use two pieces and needed to hold them together. The block is nearly 1 inch thick! I inserted it between the front end of the big horizontal channel (which is close to the bottom of the window frame) and the outside door panel.
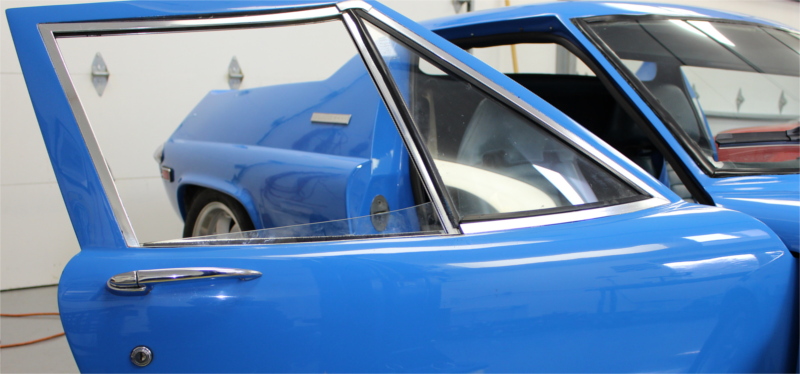
Now, finally here is how it looks as altered, fully down.
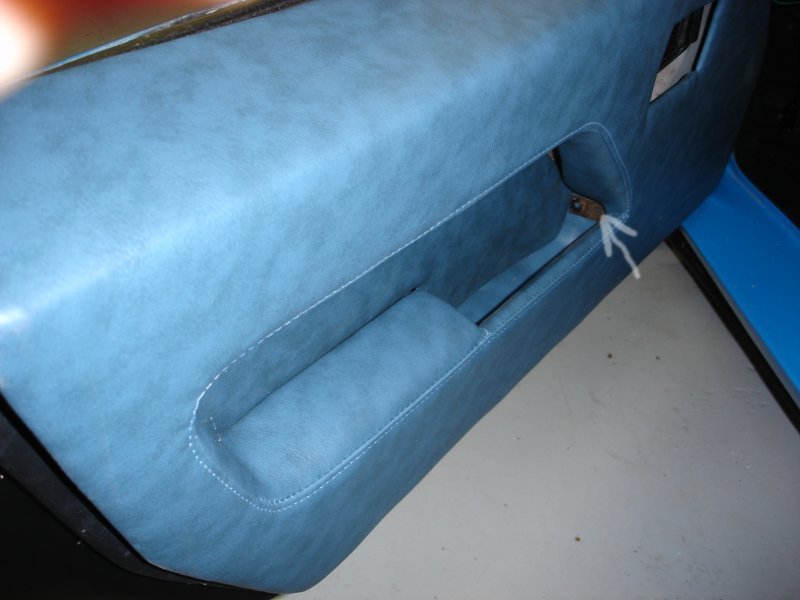
The door pull is a U-shaped bit of steel (14 gauge?, perhaps 10 inches long, 1/2 inch wide) covered by the blue vinyl of the inside door panel. The picture actually shows the steel uncovered (a bit of surface rust too) inside the door pocket. See arrow, and perhaps you can see the hole in the steel band.
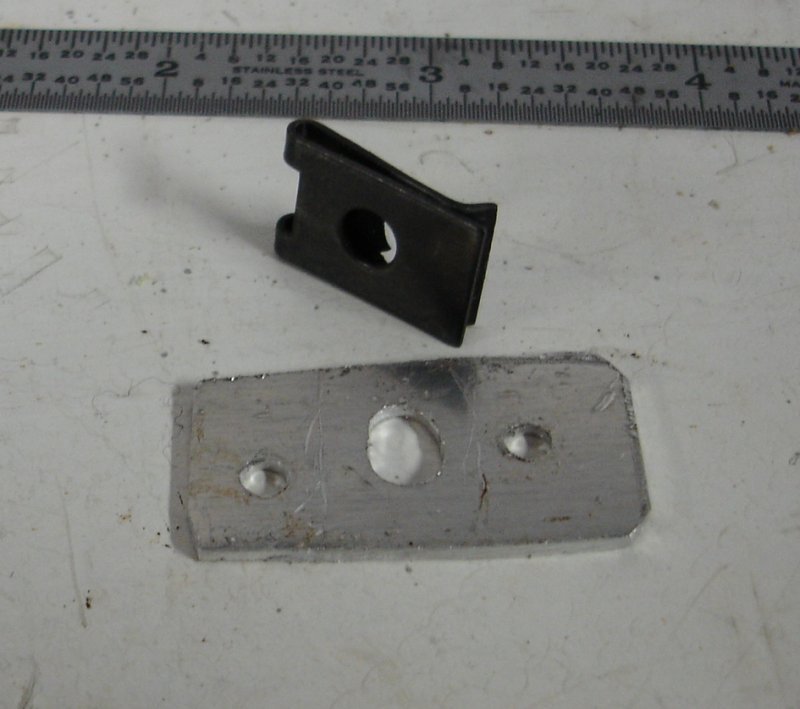
The factory just screwed thru the two holes in the steel into the very thin fiberglass. This did not seem very strong to me, given the weight of the windows and window motor. So I made two small bits of .040 inch thick aluminum, each a rectangle about 1.5 in. wide x .75 in. tall with holes for pop rivets, a center hold, and a spring clip which accepts a screw. Note the inch scale for reference. Clip on the clip, pop rivet to the door-pull sides (on the Inside of the door), and one has a firm item to screw into to hold the door pull steel.
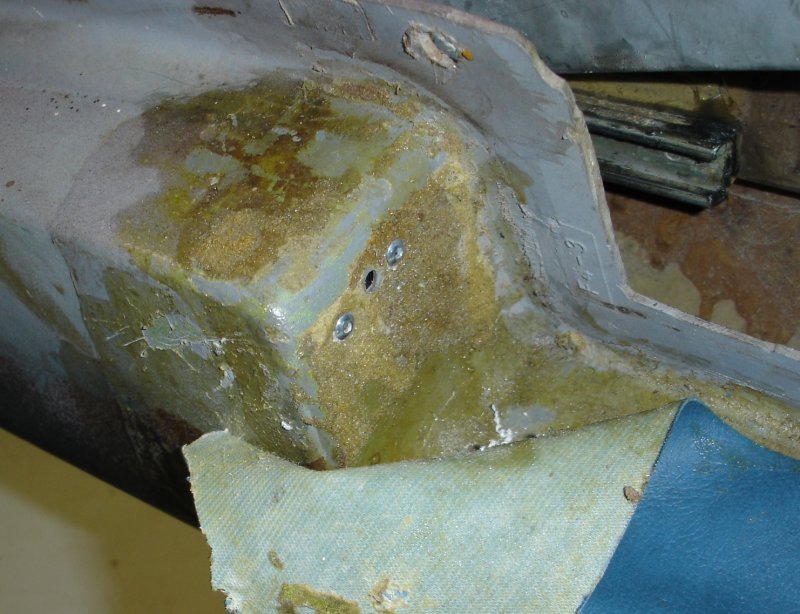
Here is a picture after riveting. All the pop rivets do is hold it in place when the inner door panel is out for maintenance.
A new 'nose' for a pop riveter to help fasten the window frames into the door is on the tools page.
I think it is amazing these things stay in place. Reinstalling them was something of a nightmare. After 'settling in' they do seem firm though.
The original door hinges, removed years ago, were very rusty! The door hinges are currently stainless steel. Some keys to aligning them (which may seem obvious):

This work is licensed under a
Creative Commons Attribution 4.0 International License.